Management server install and setup
In a distributed check point deployment scenario the
management server blade is installed as separate entity which will be then
configured to connect to the firewalls using secure communication. Management
server as name suggests is used to manage the firewalls centrally. We can set
up rules, create users, NAT’s ECT on the management firewall, save it as a
policy and push them to the firewalls. Other tasks like backups and restores
can be performed as well.
Installation – Once you boot of from the ISO image
downloaded (mentioned in earlier post), with a new vm (Memory 2GB, Processor1,
HD – 40 GB, Network – Net2) follow the below steps
Once you boot off the ISO we can see the below splash screen…Choose
Install Gaia on this system. Use TAB key to navigate options.


Initial Configuration


Input host name, domain and
DNS server info…I am using google and verizon public dns.

STOP---IMPORTANT---CHECK
The below options will configure
the device as manager or the gateway/firewall.

Select – Security manager. I
will cover clustering at a later date.


The below options will let
you configure which device can connect to the manager. Std. security practice is
one would restrict access to the manager to certain set of devices/jump boxes
for better security. You have an option to select Client A 10.1.1.50 only, Any
machine in Net2 network or certain range.

Finally verify and confirm
that the right option – Security Manager is indeed selected and finish the
initial config of manager. Again we use the manager to connect to
firewall/Gateway devices at multiple locations for ease of management.


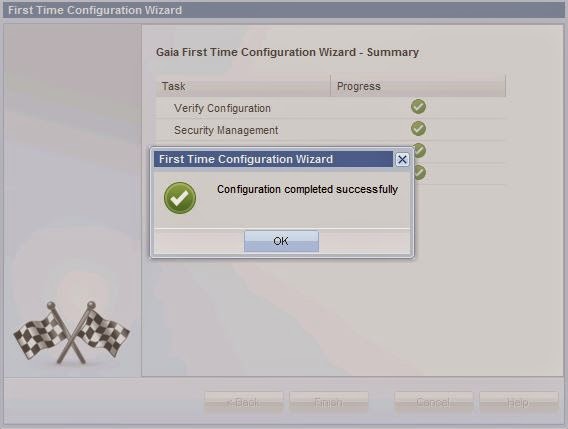
This concludes the installation and initial configuration of security manager in the lab environment.
No comments:
Post a Comment